
Welcome to the YCCC VR Lab! Whether you're here to explore virtual reality for the first time or want to try out new VR experiences, this guide will walk you through the setup process for the Meta Quest 3 headset. Follow these steps to get started, and don’t hesitate to ask any lab staff for assistance if needed.
Step 1: Gather the Meta Quest 3 Headset and Controllers
Make sure you have the Meta Quest 3 headset and both controllers in front of you. These are the primary tools you'll use to interact with the virtual world. If you're unsure where the equipment is, feel free to ask a lab assistant for help.
Reminder: The VR Lab encourages you to use the equipment with care. Ensure you’ve received the proper headset and controllers assigned to you.
Step 2: Identify the Buttons on the Meta Quest 3 Headset
Before putting on the headset, take a moment to familiarize yourself with its controls. The Meta Quest 3 has a slightly different button layout compared to earlier models, so here’s what you need to know:
Power Button: Located on the left side of the headset, next to the charging port.
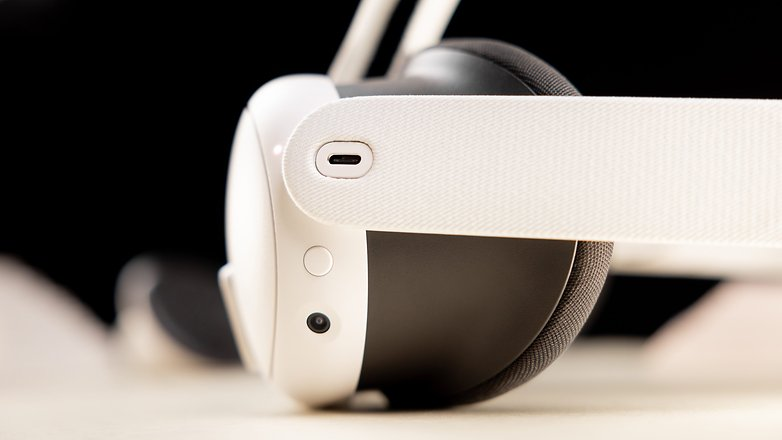
Volume Controls: On the bottom right side of the headset.
Lens Adjustment Wheel: On the bottom left side of the headset to adjust the distance between the lenses.
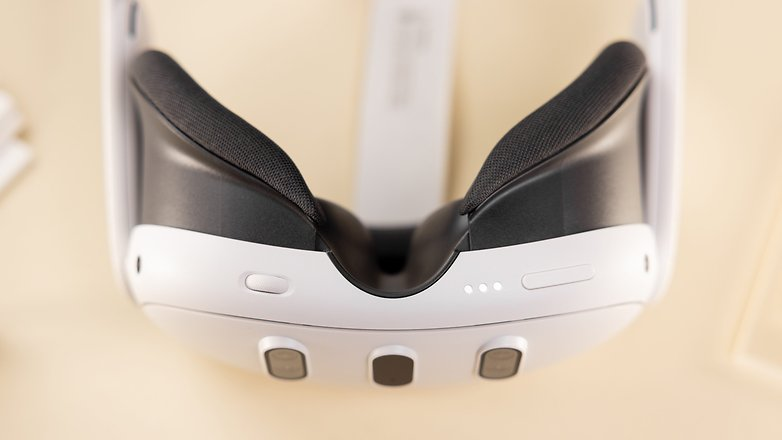
Depth Adjustment Buttons: Located near the lenses inside the facial interface to adjust how far the lenses are from your face or eyeglasses.
Pro Tip: For a visual reference, you can visit Meta's official Quest 3 User Guide, which includes detailed images of the headset and button locations.
Step 3: Secure the Controllers to Your Wrists
Before placing the headset on, make sure you secure the wrist straps around your wrists. This is crucial for safety, as it prevents the controllers from being accidentally dropped during use.
How to Secure the Straps: Place your hands through the wrist straps, tighten them comfortably, and ensure the controllers are secure in your grip.
Safety Reminder: Always keep the wrist straps on while using the controllers, especially when moving around in VR to avoid damaging the equipment.
Step 4: Adjust the Fit and Feel of Your Meta Quest 3
Getting the right fit for the Meta Quest 3 is essential for comfort and optimal performance. Here's how you can adjust it:
Loosen the back and top straps of the headset to start.
Position the headset comfortably on your face. Make sure any hair is out of the way, and the facial pad sits securely against your face.
Tighten the split back straps, then adjust the top strap to distribute the weight evenly and take pressure off your face.
For people with ponytails, pull the ponytail through the opening in the split straps to increase comfort.
Tilt the headset: Hold the headset with both hands and gently adjust the angle of the headset up or down to find the most comfortable view.
Next, adjust the lenses for clarity and comfort:
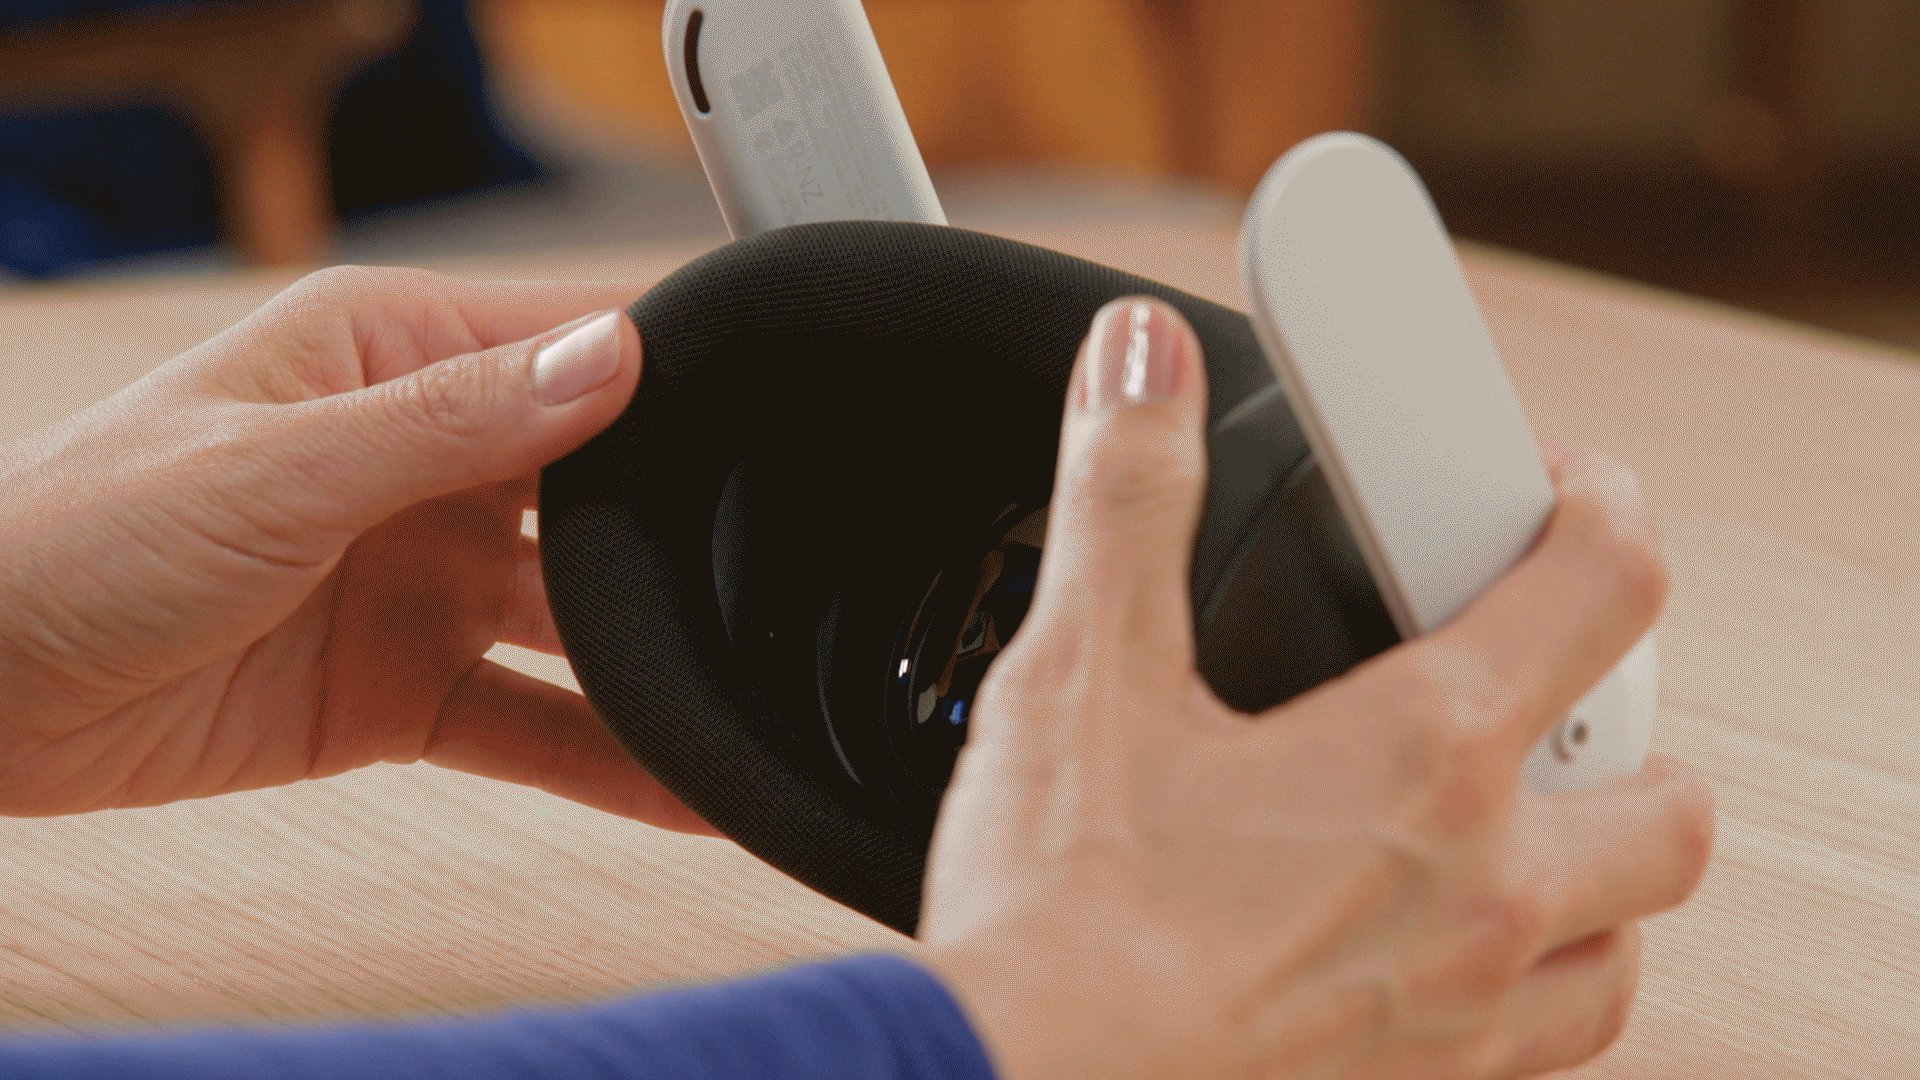
Lens Adjustment Wheel: Use the wheel on the bottom left of the headset to adjust how close together the lenses are. Do this until the visuals are clear and comfortable.
Depth Adjustment Buttons: With the headset off, you can also adjust the depth of the lenses from your face. Gently press the depth adjustment buttons located near the lenses inside the facial interface. Hold the button while sliding the interface forward or backward to adjust the distance. Repeat for the other side to ensure an even fit.
Tip: If you're using glasses, adjusting the lens depth and clarity will help you see more comfortably.
Step 5: Power On the Headset
Now that the headset is comfortably in place, it’s time to turn it on:
Locate the power button on the left side of the headset.
Press and hold the power button for a few seconds until the Meta logo appears on the screen.
Troubleshooting Tip: If the headset doesn’t turn on, ensure it is charged. If it's not, feel free to ask the lab staff for assistance or plug it into a charger.
Step 6: Connect the Controllers
The controllers should automatically pair with the Meta Quest 3 headset once it's powered on. If they don’t:
Press any button on either of the controllers to wake them up.
If pairing is still needed, follow the on-screen prompts to connect the controllers.
Tip: If the controllers are unresponsive, make sure the batteries are fully charged.
Step 7: Navigate to the "First Encounters" App
Once the headset and controllers are ready, navigate to the First Encounters app, which is the best way to start learning how to use your new Meta Quest 3. It will guide you through the essentials.
Open the Home Menu by pressing the Meta (Oculus) button on your right controller.
Look for the First Encounters app in your app library and select it to begin.
Tip: If you can’t find the app, use the search function in the app library or ask a lab assistant for help.
Step 8: Follow the First Encounter’s Tutorial
The First Encounters app provides an interactive tutorial that will walk you through the basics of using the Meta Quest 3:
Adjusting visual clarity: The tutorial will help you optimize the view for comfort.
Learning the controls: You'll practice using the controllers to move and interact in VR.
Setting up your Boundaries: The Boundary system will create a virtual safety boundary to help you avoid walking into objects.
Tip: Take your time during the tutorial—this is a great way to become familiar with VR controls and navigation. You can repeat parts of the tutorial if needed.
Additional Tips for a Great VR Experience at the YCCC Lab
Check Your Play Space: Ensure you have a clear, safe space around you for the best VR experience. The lab is set up to provide plenty of room, but it’s always good to be aware of your surroundings.
Take Breaks: VR can be intense, so it’s important to take regular breaks. If you start to feel eye strain, dizziness, or discomfort, remove the headset and rest for a few minutes.
Respect the Equipment: The Meta Quest 3 headsets and controllers are valuable pieces of technology. Handle them carefully, and if you notice any issues with the hardware, let a lab assistant know.
Explore the Lab’s VR Library: After completing the tutorial, explore the wide variety of VR experiences available in the lab. Whether for educational purposes or personal exploration, there’s something for everyone.
Need Assistance?
If you encounter any problems or need help during your VR session, don’t hesitate to ask a YCCC VR Lab staff member. We’re here to help with setup, troubleshooting, and any other questions you might have. You can also refer to the Meta Quest Help Center for detailed troubleshooting and tips.
Enjoy Your VR Experience!
We hope you have an amazing time exploring the possibilities of virtual reality in the YCCC VR Lab. Whether you're here for a class project or just to try something new, we're excited for you to experience the immersive world of VR.
Happy adventuring!